This guide will cover everything you need to know about setting up and installing your new generator, ensuring safe and effective operation. Let’s get started!
Overview and Benefits
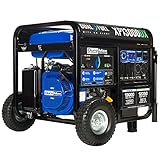
Benefits of Using a Duromax Generator
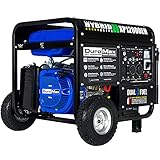
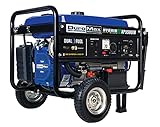
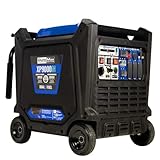
Duromax generators offer reliable power in emergencies, during power outages, or for off-grid living. These generators are known for their durability, efficiency, and user-friendly design.
Types of Duromax Generators
Duromax offers a variety of generators, including gas, dual-fuel, and inverter generators. Each type caters to different needs and applications.
Setup and Installation
Choosing the Right Location
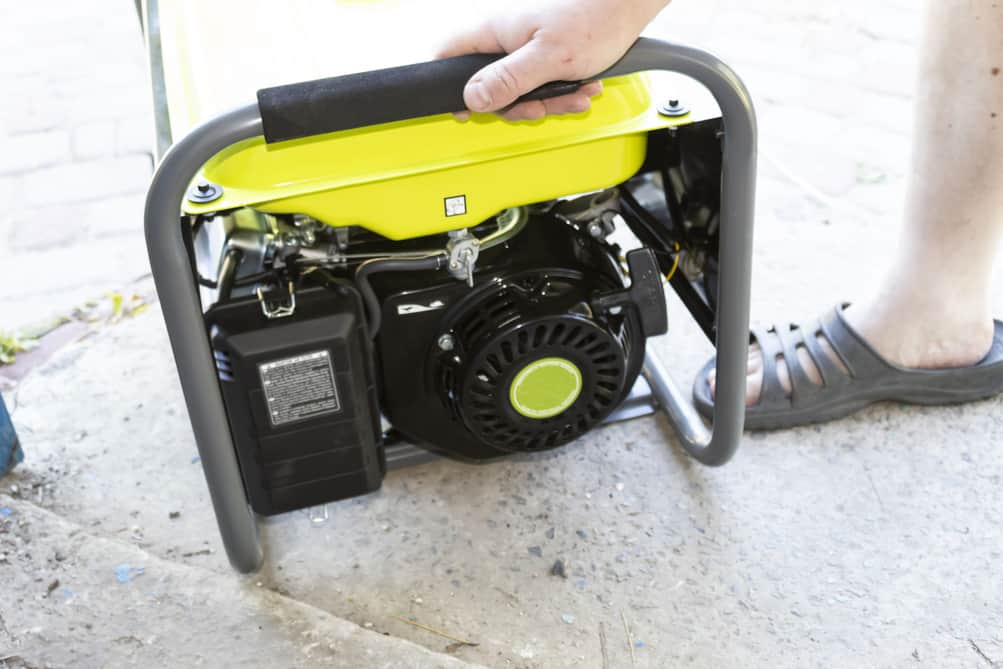
Selecting the appropriate location for your Duromax generator is crucial. Place it on a flat, stable surface and keep it at least 20 feet away from your home or any other structures to prevent carbon monoxide buildup.
Assembly
Follow the manufacturer’s assembly instructions provided with your generator. Most Duromax generators come with wheels and handles, which need to be attached for ease of movement.
Connecting the Battery
If your generator has an electric start, connect the battery according to the manufacturer’s instructions. Ensure the battery terminals are clean and tightly secured.
Connecting the Fuel Source
Depending on your Duromax generator model, you may need to connect a propane or natural gas line. Consult the owner’s manual for the proper connection procedure.
Checking the Oil Level
Before starting your generator, make sure to check the oil level. Add oil if necessary, but do not overfill.
Adding Fuel and Starting
Fill the fuel tank with the appropriate type of fuel, ensuring not to overfill. Turn the fuel valve to “ON” and start the generator according to the manufacturer’s instructions.
Crucial Step: The Break-In Period
What is Breaking In, and Why Do It?
Breaking in your Duromax generator ensures that your investment operates at peak efficiency and lasts for a long time. The break-in process involves running the generator for a predetermined period, typically several hours, while gradually adjusting the load it’s subjected to. This allows the engine components, such as the pistons, rings, and bearings, to wear in and settle into optimal positions.
The break-in period also helps to distribute lubrication throughout the engine, ensuring smooth and efficient operation. By adhering to the recommended break-in procedure for your Duromax generator, you’ll be setting the stage for dependable performance and an extended lifespan of your equipment.
How to Properly Break in Your Generator
Follow the manufacturer’s instructions.
It’s always best to follow the specific break-in instructions provided by Duromax. Still, we’ll go over it anyway in case you lost the manual.
Run the generator at varying loads.
Gradually increase the load on your generator during the break-in period, starting with a light load and working your way up.
Avoid running the generator at full capacity.
Do not run your generator at full capacity during the break-in period to avoid stressing the engine components.
Change the oil after the initial break-in.
Once the break-in period is complete, change the oil to remove any metal particles or debris that may have accumulated.
Common Mistakes to Avoid During the Break-in Period
Overloading the generator
Avoid overloading your generator during the break-in period to prevent engine damage.
Running it for extended periods without a load
Running your generator for too long without a load can cause overheating and potential damage.
Safety Tips for Setup and Operation
Proper Grounding
Ensure your Duromax generator is properly grounded according to local electrical codes and the manufacturer’s instructions.
Avoiding Fuel Spills
Use caution when filling your generator’s fuel tank to prevent spills, which can be a fire hazard.
Keeping the Area Ventilated
Ensure your generator is in a well-ventilated area to prevent carbon monoxide buildup.
Positioning the Generator Away from Combustible Materials
Keep your generator away from flammable materials to reduce the risk of fire.
Turning off the Generator Properly
When shutting down your Duromax generator, follow the manufacturer’s instructions to ensure a safe and proper shutdown process.
Maintenance Tips for Your Duromax Generator
Cleaning the Air Filter
Regularly clean or replace the air filter to maintain optimal performance and prevent engine damage.
Checking and Changing the Oil
Check the oil level regularly and change it according to the manufacturer’s recommended intervals.
Inspecting the Spark Plug
Examine the spark plug for signs of wear or damage, and replace it if necessary.
Testing the Battery
For generators with electric start, periodically test the battery to ensure it’s holding a charge and replace it if needed.
Storing the Generator Properly
When not in use, store your Duromax generator in a cool, dry place, and follow the manufacturer’s storage recommendations.
Conclusion and Final Thoughts
This Duromax generator setup and installation guide provides the essential information to set up, safely use, break-in, and maintain your generator. By following these steps and the manufacturer’s instructions, you can enjoy reliable power and prolong the life of your generator. Stay safe, and power on!
Next step? Duromax Generator Maintenance Tips

 Westinghouse 12500 Watt Dual Fuel Home Backup…
Leave a Reply