Solar heating panels are an excellent way to harness the sun’s energy for sustainable living. This expanded guide will walk you through the process of installing solar heating panels, helping you understand each step and the considerations involved in mastering solar heating panels for homeowners.
Pre-Installation Planning
Before diving into the installation process, proper planning is crucial. This phase involves several key steps that will set the foundation for a successful solar heating panel system:
Site Assessment
Begin with a thorough evaluation of your property. Consider the following factors:
- Roof orientation and angle: South-facing roofs in the Northern Hemisphere are ideal for maximum sun exposure. The optimal angle is typically equal to your latitude plus 15 degrees for winter optimization.
- Shading analysis: Identify any obstructions that might cast shadows on your panels, such as trees, chimneys, or neighboring buildings. Use a solar pathfinder tool or professional assessment to determine the best placement.
- Structural integrity: Ensure your roof can support the additional weight of the solar heating system. This may require a professional structural engineer’s assessment, especially for older homes.
 DIY Solar Energy for Beginners: A Step-by-Step...
 HC-113 Panel Clamp Assembly for Heliocol Swimming...
 HC-113G Panel Clamp Gasket for Heliocol Sunstar...
 OFF-GRID SOLAR POWER FOR BEGINNERS : The Ultimate...
System Design
Once you’ve assessed your site, it’s time to design your system:
- Determine the appropriate size and number of panels based on your heating needs and available space. Consider factors like your average hot water consumption and desired temperature increase.
- Choose the right type of solar thermal collector. Options include flat-plate collectors and evacuated tube collectors, each with its own advantages. Flat-plate collectors are generally less expensive but less efficient, while evacuated tube collectors offer higher efficiency but at a higher cost.
Permits and Regulations
Before proceeding with installation, familiarize yourself with local solar heating panel installation regulations. This typically involves:
- Checking local building codes and zoning laws.
- Obtaining necessary permits and scheduling required inspections.
- Understanding any homeowners association (HOA) restrictions that may apply to your property.
Preparation for Installation
With your plan in place, it’s time to prepare for the actual installation:
Gathering Tools and Materials
Ensure you have all necessary tools and materials on hand. This may include:
- Mounting hardware (rails, clamps, bolts).
- Piping and insulation.
- Heat transfer fluid (typically a glycol-water mixture).
- Safety equipment (harnesses, non-slip footwear, gloves, safety glasses).
- Specialized tools (pipe cutter, crimping tool, soldering equipment).
- Sealants and weatherproofing materials.
Safety Considerations
Safety should be your top priority. Be sure to use:
- Proper roof safety equipment, including harnesses and non-slip footwear.
- Electrical safety precautions when working with wiring and controls.
- Protective gear such as gloves and safety glasses when handling materials and tools.
- A buddy system to ensure someone is always available in case of emergency.
Step-by-Step Installation Process
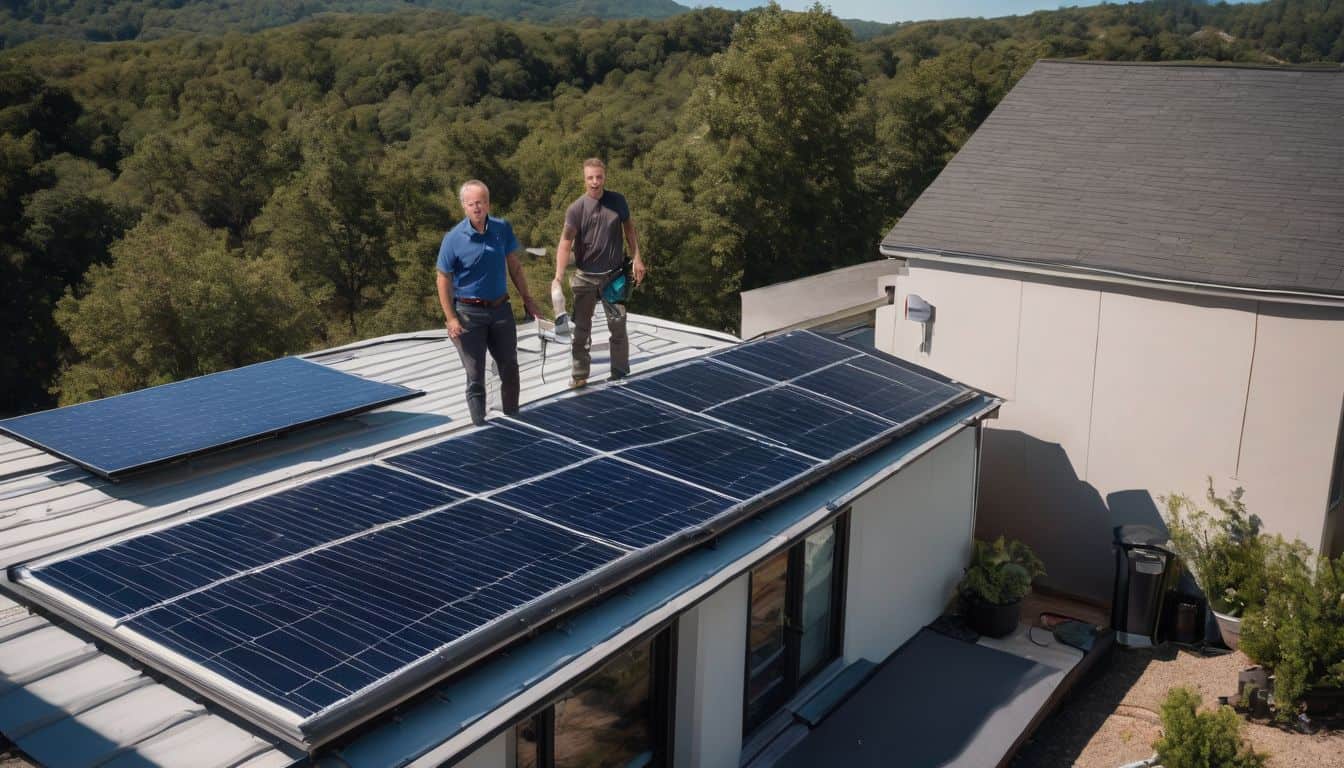
Mounting the Solar Collectors
- Install roof attachments, ensuring they’re securely fastened and weatherproofed. Use appropriate flashing to prevent water infiltration.
- Secure mounting rails to these attachments, ensuring they’re level and properly spaced according to your panel specifications.
- Carefully attach the solar collectors to the mounting rails, following the manufacturer’s guidelines for proper spacing and orientation.
Plumbing and Piping
- Run insulated pipes from the collectors to your storage tank location. Use copper piping for its durability and heat transfer properties.
- Install necessary valves and pumps according to your system design. This typically includes a circulation pump, pressure relief valve, and air vent.
- Properly insulate all pipes to minimize heat loss. Use high-temperature insulation rated for solar thermal applications.
Storage Tank Installation
- Position your storage tank in a suitable location, typically in your basement or utility room. Ensure the area is clean, dry, and easily accessible for maintenance.
- Connect the tank to your existing water system, ensuring proper integration. This may involve installing a tempering valve to prevent scalding.
Electrical Connections
- Wire the pump and controller according to manufacturer specifications. Ensure all connections are secure and properly insulated.
- Install temperature sensors at key points in the system, typically at the collector output, storage tank, and backup heater if applicable.
System Testing and Commissioning
- Conduct a pressure test to check for leaks. Pressurize the system and monitor for any pressure drops over 24 hours.
- Fill the system with the appropriate heat transfer fluid, typically a glycol-water mixture for freeze protection.
- Perform a final check for leaks and proper operation. This includes verifying pump operation, sensor readings, and controller functionality.
Post-Installation Steps
After installation, there are a few crucial steps to ensure optimal performance:
System Activation and Monitoring
Activate your system and monitor its performance over the first few days to ensure everything is working correctly. Pay attention to temperature readings, pump operation, and overall system efficiency.
Homeowner Education
Take the time to understand how your system works and how to monitor its performance. This knowledge is crucial for achieving sustainable living with solar heating panels. Learn how to:
- Read and interpret system gauges and displays.
- Recognize normal operating conditions.
- Identify potential issues early.
Maintenance Schedule
Establish a regular maintenance schedule to keep your system running efficiently for years to come. This typically includes:
- Annual professional inspections.
- Regular checks of fluid levels and pressure.
- Cleaning of collector surfaces.
- Inspection of pipe insulation and roof penetrations.
Integrating with Home Heating
For maximum benefit, consider integrating solar heating panels with your home heating system. This can significantly reduce your reliance on traditional heating methods and lower your energy bills. Integration options include:
- Connecting to a radiant floor heating system.
- Supplementing a forced-air heating system.
- Preheating water for a boiler or heat pump.
Troubleshooting Common Issues
Even with careful installation, you may encounter some issues. Here are some common problems and their solutions:
- Air in the system: Bleed air from the system using the air vent valve.
- Reduced efficiency: Check for dirt or debris on collector surfaces and clean if necessary.
- Leaks: Inspect all connections and tighten or reseal as needed.
- Pump failure: Check electrical connections and replace the pump if necessary.
Conclusion
Installing solar heating panels is a significant undertaking that requires careful planning and execution. While this guide provides a comprehensive overview, it’s important to remember that professional installation is often the best choice for ensuring optimal performance and compliance with local regulations.
The key to a successful solar heating panel installation lies in thorough planning, attention to detail during installation, and consistent maintenance post-installation. With the right approach, you can enjoy the benefits of solar heating for many years to come, reducing your carbon footprint and energy costs while increasing your home’s value and sustainability.
FAQ
What’s the difference between solar heating panels and solar PV panels?
Solar heating panels (solar thermal collectors) use sunlight to heat water or another fluid for hot water or space heating, while solar PV panels convert sunlight directly into electricity for general household use. Solar heating panels are typically more efficient at capturing solar energy for heating, but they don’t generate electricity.
How do I keep my solar heating system running efficiently year after year?
Regular maintenance is key. Annually, check for shading on collectors, inspect roof penetrations for leaks, and tighten all mounting hardware. Listen for pump or blower operation on sunny days and ensure all sensors are securely attached. Replace heat transfer fluids like glycol every 3–5 years, and flush storage tanks to remove sediment.
If your water is hard, descale the system every few years to prevent mineral buildup. Professional inspections are recommended to check fluid quality and system controls.
What are common problems with solar heating panels, and how can I prevent them?
Frequent issues include scaling (mineral buildup), corrosion, freezing, and overheating.
- Scaling: Use water softeners or flush the system with mild acid (like vinegar) every 3–5 years.
- Corrosion: Ensure proper use of bi-metallic connectors and compatible materials (copper, brass, stainless steel) to prevent galvanic corrosion.
- Freezing: Use antifreeze solutions (propylene glycol) and have a professional check the concentration regularly.
- Overheating: Some systems use drainback tanks or solenoid valves to manage excess heat and prevent fluid degradation.
Can solar heating panels work in cold or cloudy climates?
Yes, with the right design. Evacuated tube collectors and antifreeze solutions allow solar thermal systems to operate efficiently in colder regions. Proper insulation of pipes and collectors is essential to minimize heat loss. However, output will be lower during extended cloudy periods, so a backup heating source may be needed.
How do I know if my roof is suitable for solar heating panels?
A good candidate roof is south-facing (in the Northern Hemisphere), has minimal shading, and is structurally sound. You’ll need about 15–20 square meters/160 sq. ft. of unobstructed space for a typical domestic system. If unsure, get a professional structural assessment before installation.
Are there incentives or rebates for solar heating panels?
Many regions offer financial incentives, rebates, or tax credits for solar heating systems, but availability and requirements vary widely. Check with your local energy office or government website for up-to-date information before starting your project.
What’s the best way to integrate solar heating panels with my existing home heating?
Solar thermal systems can preheat water for your boiler, supply radiant floor heating, or supplement forced-air systems. Integration may require additional plumbing, heat exchangers, or controls. Consult an experienced installer to ensure seamless operation and compatibility.
How do I troubleshoot if my solar heating system isn’t producing enough heat?
Start by checking for dirt or debris on collectors, air in the system (bleed air from vents), and leaks in pipes or connections. Listen for pump operation and inspect temperature sensors. If problems persist, have a professional check fluid quality, sensor calibration, and system controls.
What signs mean I need professional help with my system?
Call a technician if you notice persistent leaks, pressure drops, unusual noises, or if the system isn’t heating as expected despite basic troubleshooting. Annual professional inspections are also recommended to catch issues early and keep your system running smoothly.
 VEVOR Solar Panel Mount Kit with 4 x 30 Aluminum...
 The Good Solar Guide: 7 Steps To Tiny Bills for...
 Middrivr SAE Battery Connector, SAE Adapter, SAE...
 10AWG 2FT Charger Cable, SAE to O Ring Terminal...
 HXUHUWS Solar Pool Heating Panels for Enhanced...
 The Solar Energy Handbook: Technologies, Design,...
Leave a Reply